You’re enjoying your morning coffee when you notice a faint brown stain on the ceiling, or maybe after last night’s storm, you find a piece of shingle lying in your yard. It’s easy to brush off. But deep down, you know: your roof might be trying to tell you something.
For Atlanta homeowners, damaged roof shingles are one of the most common—and most ignored—signs of trouble. The good news? Not every issue means a full roof replacement. In fact, with the right know-how (and sometimes just a simple fix), you can avoid major headaches.
This guide explains what causes shingle damage, how to spot it early, when a DIY repair makes sense, and when it’s time to call in the pros.
What Causes Damaged Roof Shingles?
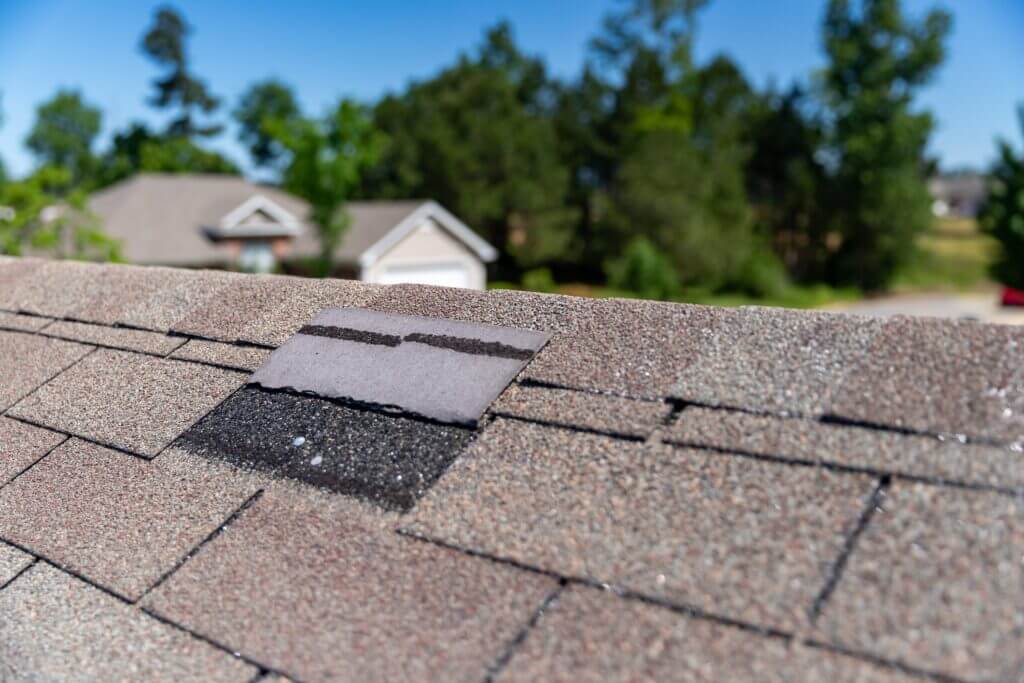
Atlanta’s weather conditions include hot summers, occasional storms, and fluctuating temperatures, can take a toll on your roof. Shingle damage isn’t just cosmetic; it can lead to leaks, water damage, and costly repairs if left untreated. Understanding what causes shingles to fail is the first step toward effective maintenance or repair. Here are some of the most common culprits:
Wind Uplift
Even moderate wind can cause shingles to loosen or lift, especially if they’re older or were improperly installed. Once lifted, shingles lose their seal, allowing wind-driven rain underneath. Atlanta’s spring and summer storms are notorious for this type of damage, which often goes unnoticed until a leak appears. Prompt roof shingles repair can prevent further water infiltration.
Nail Pops
Nail pops occur when roofing nails push upward, causing shingles to bulge or lift. This often happens due to wood expansion and contraction beneath the roof decking or poor nailing during installation. Nail pops expose the underlayment and can eventually lead to loose or missing shingles. Regular inspections can catch this subtle but important issue early.
UV Exposure and Aging
Atlanta’s intense sun breaks down the protective oils in asphalt shingles over time, causing them to dry out, crack, or curl. This natural aging process can be accelerated on south-facing slopes and roofs with poor ventilation. Once shingles become brittle, they’re more vulnerable to wind, impact, and moisture damage.
Poor Installation
Shingles must be installed using the correct technique, including proper nailing, alignment, and sealing. If shortcuts were taken during a previous roof job—whether a full replacement or patch repair—they can compromise the integrity of your entire roof system. Improper installation often leads to early shingle failure, even on relatively new roofs.
Foot Traffic and Tree Debris
Walking on shingles, especially in hot weather, can scuff or loosen them. Likewise, overhanging tree limbs may drop leaves, sticks, or even larger branches during storms. Debris accumulation traps moisture and accelerates wear, while heavy impacts can crack or dislodge shingles. Trimming back trees and minimizing unnecessary foot traffic helps extend your roof’s life.
Signs You Need Roof Shingles Repair
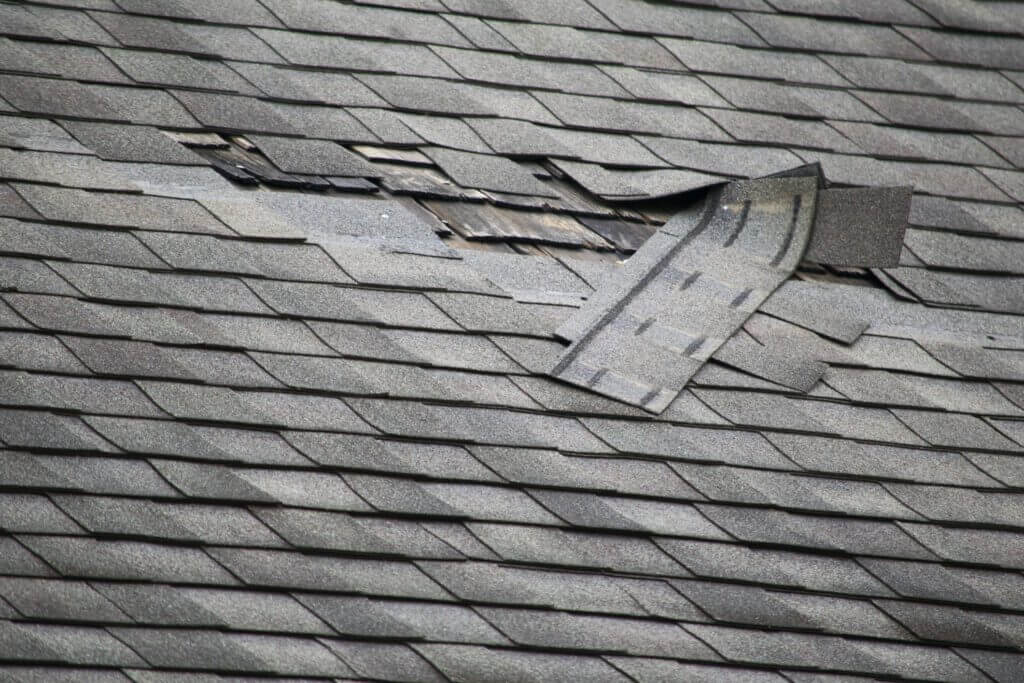
Knowing when to act can be the difference between a simple shingle fix and a full-blown roof replacement. Many signs of roof damage are subtle at first, but paying attention to small changes around your home can save time, money, and frustration.
Here’s a quick table of signs of roof shingle damage and what to do:
Sign of Damage | What It Might Indicate | Recommended Action |
Water stains on ceilings or walls | Possible roof leak or underlayment failure | Inspect the attic and call a professional |
Shingles found on the lawn after a storm | Wind damage, missing tabs, or seal failure | Inspect roof visually; patch or call a pro |
Bare or discolored patches on the roof | Granule loss, aging shingles, or poor adhesion | Monitor closely; consider roof shingle repair or replace |
Loose or raised shingles near chimneys/valleys | Flashing failure or water intrusion risk | Call a professional for proper sealing |
Curled or cracked shingles | UV damage, age, or improper installation | Plan for replacement or roof evaluation |
Frequent repeat patch areas | Underlying structural or moisture issues | Consider sectional re-roofing |
Here’s a closer look at the top signs of roof shingle damage:
Water Stains on Ceilings or Walls
Brownish spots or streaks on your ceiling or walls are a major red flag. These stains often indicate a roof leak, which can result from cracked, missing, or displaced shingles. The leak path isn’t always directly above the stain because water can travel along rafters or insulation before showing up inside your home.
If a stain appears after heavy rain or a windstorm, check your attic with a flashlight for signs of wet insulation or damp rafters. Even if it’s minor, early action can prevent mold and rot.
Shingles on the Lawn After a Storm
If you find pieces of shingles (or entire tabs) in your yard after a storm, don’t ignore them. This is a clear indication that your roof suffered wind damage. Dislodged shingles expose the underlayment and decking, making your home vulnerable to leaks.
Take a quick photo of the shingle debris and check your roof from the ground using binoculars. Look for matching gaps where the shingles came loose. If you’re unsure, a quick inspection from a professional can confirm the extent of damage.
Visible Gaps or Bare Patches on the Roof
Bare spots, where the granules are missing or shingles have slid out of place, are just as much weak points as they are cosmetic issues.. Your roof’s waterproofing ability is compromised without full shingle coverage, especially during Atlanta’s sudden downpours.
Use the zoom on your phone camera or a drone (if available) to check for bald spots or discoloration on your roof. Missing granules may also collect in gutters—another subtle but useful clue.
Loose or Raised Shingles Near Chimneys and Valleys
Chimneys, roof valleys, and flashing are vulnerable areas where water naturally flows. If shingles are curling, lifting, or appear uneven in these sections, it’s often a sign that the seal has failed, mainly due to:
- Age
- Poor installation
- Debris buildup
Check these areas closely after a storm or at least once a year. Raised shingles near flashing are one of the most common entry points for leaks and one of the most repairable if caught early.
How to Repair a Roof Shingle (Step-by-Step DIY Overview)
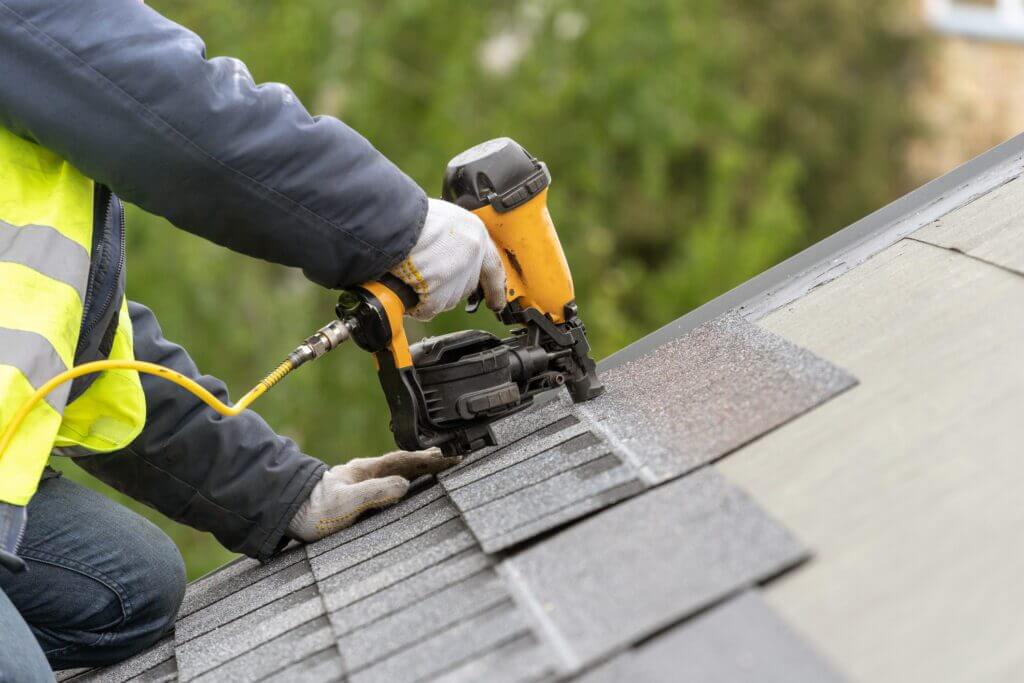
For handy homeowners, a basic roof shingles repair can be a manageable weekend project if the damage is small and safely accessible. However, working on a roof comes with real risks. Falls are one of the most common home repair accidents, and one misstep can lead to serious injury or further roof damage. If you’re dealing with steep slopes, multiple missing shingles, or anything near flashing or chimneys, it’s best to call a professional like Mr. Roofer.
That said, for minor repairs on single-story homes with easy roof access, here’s how to repair roof shingles step-by-step:
Tools Needed
Before starting, gather the following:
- Pry bar or flat crowbar
- Roofing nails (galvanized, 1¼” recommended)
- Hammer
- Roofing cement or asphalt sealant
- Replacement shingle (match type and color if possible)
- Ladder with stabilizer
- Safety gear (non-slip shoes, gloves, safety harness if needed)
Safety Tip: Never work on the roof when it’s wet, windy, or overly hot. Always have someone nearby in case you need help.
Step 1: Carefully Remove the Damaged Shingle
Use a pry bar to lift the shingle above the damaged one, gently loosening the sealing strip. Slide the bar under the nails of the damaged shingle and lift them out. Be cautious not to damage the surrounding shingles.
Pro Tip: Shingles are typically layered in three-tab or architectural patterns. You may need to lift two rows to get full access to the nails of the shingle you’re replacing.
Step 2: Slide a New Shingle into Place
Once the old shingle is out, slide the new one into the same position, aligning it carefully with the existing shingles.
If you’re using a replacement from a hardware store, try to match the color and texture to your current roof. Sun exposure may cause a slight mismatch, but this is purely cosmetic.
Step 3: Nail It Down and Seal with Cement
Secure the new shingle with 3-4 roofing nails along the nailing strip (just below the tar line). Then, apply a small dab of roofing cement under the corners of the new shingle and under any lifted shingles above.
Pro Tip: Press down firmly to ensure proper adhesion, especially in warm weather, which helps the sealant activate and bond faster.
When to Call a Pro Instead
- If you see widespread shingle damage or suspect water has gotten under the roof
- If the roof shingles repair is near a valley, chimney, or flashing
- If you’re unsure about roof slope or working at height
- If the shingles are brittle or cracking during removal
Mr. Roofer has decades of experience diagnosing and repairing roof problems without upselling full replacements unless absolutely necessary. If a DIY roof shingle repair feels risky or beyond your scope, it’s worth getting a trusted opinion.
Patching Roof Shingles vs. Full Shingle Replacement
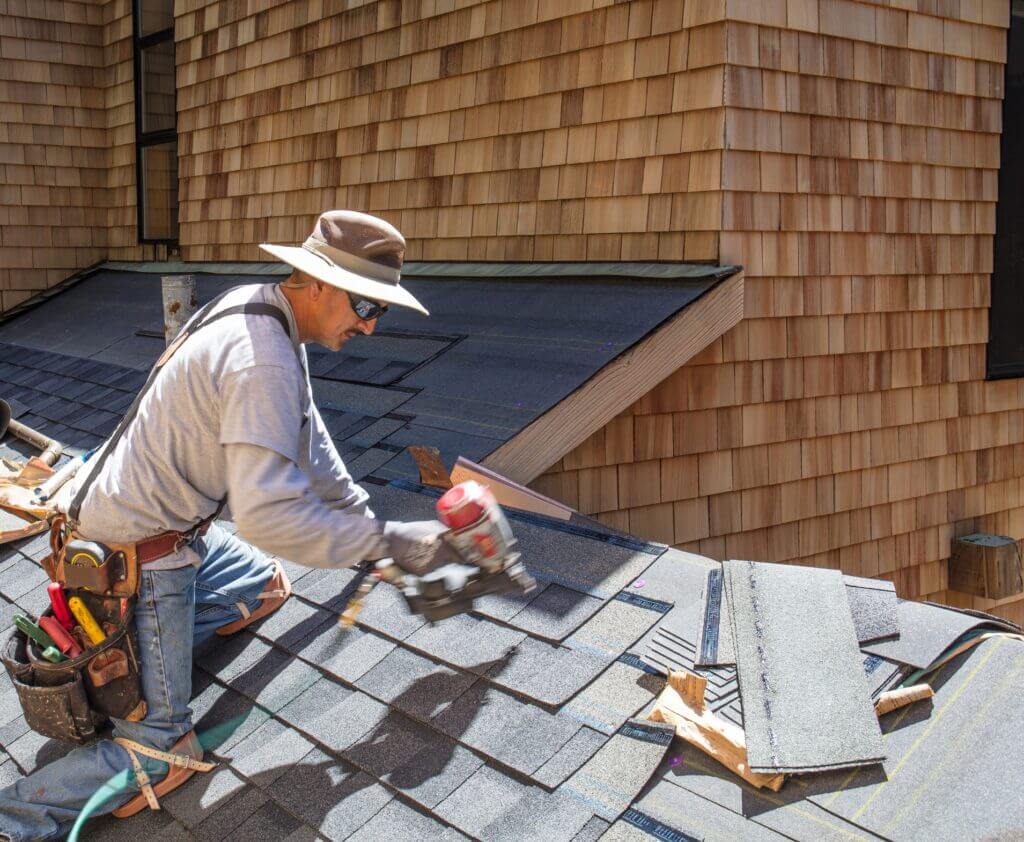
Not all roof issues require a full-scale replacement. In many cases, a targeted patch job is all that’s needed to extend the life of your roof, especially when the damage is minor and isolated. But patching isn’t always the best long-term solution. Knowing when to patch and when to consider a more comprehensive fix is key to avoiding future problems and unnecessary costs.
When Is Patching a Shingle Roof Enough?
Patching is often appropriate when the damage is:
- Localized (e.g., a few missing or cracked shingles in one area)
- Recent (such as after a storm or wind event)
- On a relatively new roof (under 10-12 years old)
In these cases, a well-done patch (especially when completed by professionals) can restore the roof’s integrity and prevent leaks without significant expense. For Atlanta homeowners, patching is commonly used after spring and summer storms blow off a few shingles or cause minor uplift near eaves and vents.
Pro Tip: If your roof is in otherwise good condition and the damage hasn’t compromised the underlayment, patching can add several years of life to your existing roof.
Risks of Repeated Patch Jobs: Mismatched Colors, Poor Sealing, Mold Risk
While patching is often the right short-term fix, repeated spot repairs come with risks:
- Color mismatch: Shingles fade over time due to Atlanta’s strong sun. New shingles may stand out, creating a “patchwork” appearance, especially on older roofs.
- Sealing issues: Multiple patch layers or poorly sealed replacements can allow water to sneak under surrounding shingles, increasing the risk of leaks and mold.
- Moisture and mold risk: If patching doesn’t fully resolve underlying issues, like poor ventilation or water intrusion, it can trap moisture beneath the roof surface.
Homeowner Caution: If you’re patching the same area repeatedly or if water stains keep coming back, it may be time to consider a broader roof shingle repair strategy.
Long-Term View: Spot Patching vs. Re-Roofing a Section
There’s a middle ground between a simple patch and a full roof replacement: sectional re-roofing. This involves removing and replacing all the shingles in a damaged portion of the roof while leaving the rest untouched.
This option may be worth considering if:
- You have recurring damage in one area (such as near trees or a problematic slope)
- The roof is nearing mid-life (12-15 years)
- Patches aren’t blending well or holding up between seasons
Though more costly than patching, re-roofing a section restores full weather protection and gives a cleaner, more uniform appearance, especially if you’re planning to stay in your home for several more years.
Common Mistakes Homeowners Make When Repairing Roof Shingles
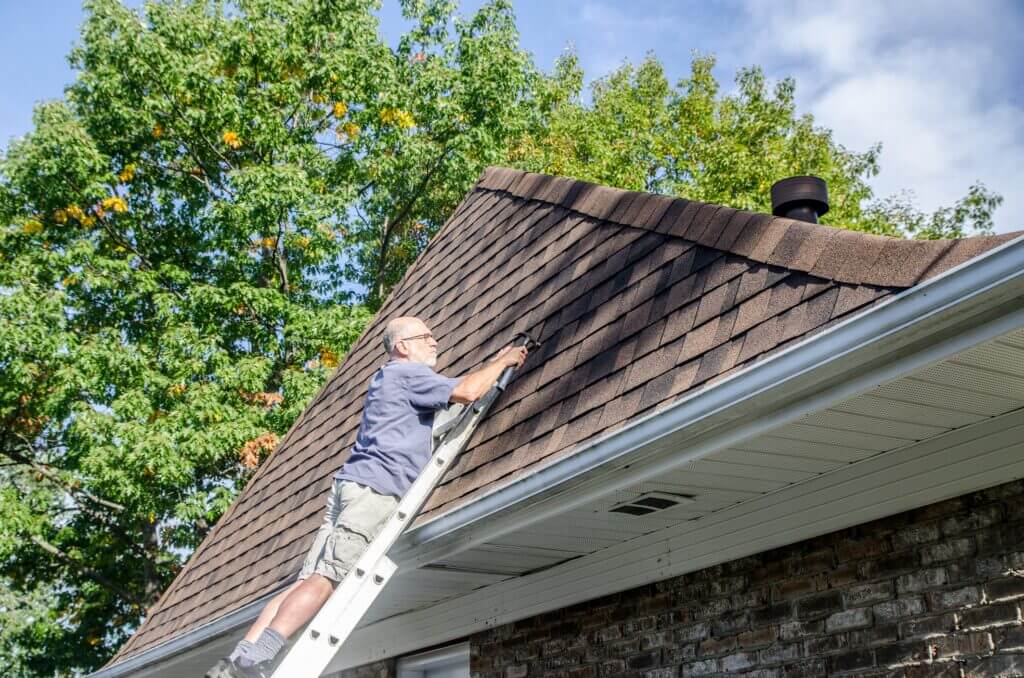
DIY roof repairs can be cost-effective, but even well-intentioned fixes can go wrong if you’re not careful. Roofing is a system—each layer and component plays a role in protecting your home. Overlooking key steps or materials can lead to recurring leaks, structural damage, and higher costs in the long run. Here are some of the most common mistakes Atlanta homeowners make when attempting roof shingles repairs:
Not Addressing Underlying Moisture or Decking Issues
One of the biggest oversights is fixing surface-level shingle damage without checking for problems underneath. If water has been leaking for a while, it may have already soaked the underlayment or rotted the decking beneath the shingles.
Why It Matters: Patching over wet or deteriorated decking can trap moisture, promote mold growth, and cause future repairs to fail prematurely.
Pro Tip: Before replacing a shingle, press gently on the area beneath it. If it feels soft or spongy, call a professional—there may be hidden structural damage that needs attention.
Using the Wrong Nails or Adhesives
Not all roofing nails or sealants are created equal. Using standard nails (or worse, screws) instead of galvanized roofing nails can lead to corrosion and premature failure. Likewise, household adhesives or caulks won’t hold up to the extreme heat, UV, and rain that Atlanta roofs face.
Why It Matters: Improper fasteners or sealants can cause shingles to lift, leak, or blow off during storms.
Pro Tip: Always use galvanized roofing nails and roofing-specific cement or asphalt sealant. If in doubt, ask your local hardware store or consult a roofer.
Skipping Underlayment When Replacing Multiple Shingles
When homeowners replace a cluster of damaged shingles, they sometimes overlook the importance of the underlayment—a waterproof barrier beneath the shingles that protects the roof deck.
Why It Matters: If the underlayment is torn, missing, or improperly installed during a multi-shingle repair, water can seep in and cause rot or interior leaks, even if the new shingles look perfect on top.
Pro Tip: If you’re replacing more than 3-5 adjacent shingles, take time to inspect the underlayment. If caught early, small rips can be patched with roofing tape or a new membrane.
Attempting Repairs in Poor Weather or on High-Pitched Roofs
Roofing safety is non-negotiable. Climbing onto a steep or wet roof—even for a quick fix—can be extremely dangerous. Some homeowners underestimate slope or think they can “just be careful,” but wind gusts or unstable footing can lead to serious injury.
Why It Matters: In addition to the safety risk, rushed or unstable repairs often lead to improper sealing or fastener placement.
Pro Tip: If your roof is steeper than a 6:12 pitch, multi-story, or shows signs of storm damage, stay off it and call a pro. Even experienced roofers use harnesses, stabilizers, and weather tracking before performing repairs.
When to Call Mr. Roofer: Trusted Help for Atlanta Roof Repairs
Whether you’re dealing with a single missing shingle or trying to decide between a patch job and a larger roof shingles repair, your roof deserves careful attention. Small issues can grow into big problems fast, especially in Atlanta’s unpredictable weather. While some minor fixes can be handled with the right tools and caution, there’s no substitute for professional experience when safety, quality, and long-term protection are on the line.
At Mr. Roofer, we bring decades of hands-on expertise, a repair-first mindset, and a deep understanding of what Atlanta homes need. We believe in honest assessments, not upselling replacements you don’t need. If you’re unsure whether to patch, replace, or inspect a roof issue, we’re here to help you make the smart call.
Don’t wait for a small leak to become a costly repair.
Contact Mr. Roofer today for a professional evaluation and get the peace of mind that comes with having your roof in expert hands.
Contact us now to schedule your roof inspection—your home will thank you.
